Your motorcycle is probably the love of your life. I am sure those who own one, grow depressed when something bad happens to it. However, your first love cannot be repaired without a table lift. Read on to find out how to build one for your mean ride.
A motorcycle lift table is a table meant and designed to handle motorcycles. They are basically meant to lift them off the ground, so that the mechanic does not have a problem repairing or checking a vehicle. Owners would most probably swear by this for dealing with any problem in the motorcycle or simply cleaning it. These are generally made of steel and are powered by air or hydraulic cylinders. The lift powered by hydraulic cylinders is called a hydraulic motorcycle lift. These lifts can typically handle a load of 680 kg.
Building a Motorcycle Lift Table
You need: Electric drill, Pencil, ruler, hand saw, pipe wrench, hammer, drill bits, galvanized thread pipe, pipe flange, bolts, and wood
- Before you commence the building, you need to make space in your garage to fit your lift there.
- Then, begin with marking on an 8 inch wide side of a 4 x 8 x 3 inch piece of wood. The mark should be around 3½ inches from the end, and has to be at the center line of the wood.
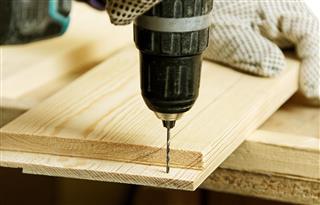
- Now, where you have made the mark, drill a hole through it. Remember that the hole needs to be drilled through that part of the wood which is 4 inch thick. You would most probably need a paddle bore drill bit for this.
- Next, insert a piece of pipe flange in the drilled hole. Then, mark four locations for lag bolts on the piece of wood using a pencil and ruler.
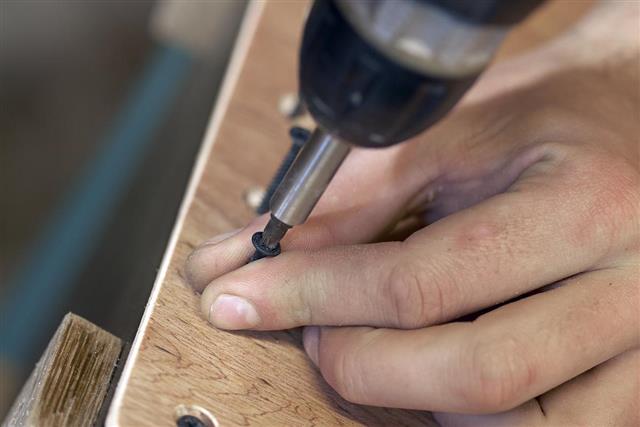
- Drill each of the bolt locations. This will make the placing of lag bolts easier than drilling the bolt locations.
- Now, screw the lag bolts in their respective positions. Have a socket wrench at your disposal, as you would need a socket wrench for fastening the bolts properly.
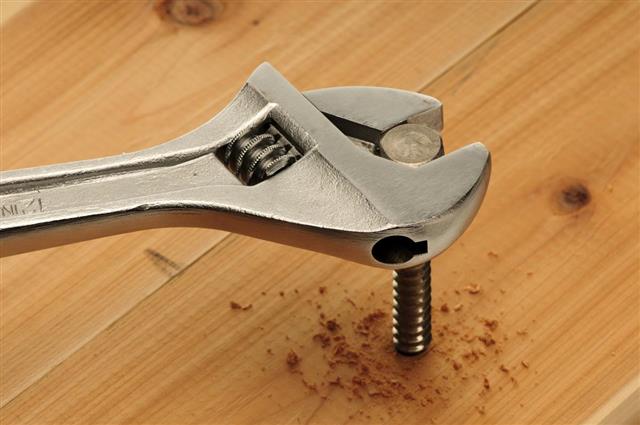
- Once done, insert the galvanized pipe through the hole, thread that with the pipe flange. Then use a pipe wrench to tighten the screws.
Building a Motorcycle Lift
You need: Electric drill power, saw, pencil, tape measure, 1″ paddle bit, 3/16 wood drill bit, small pipe wrench, 6′ 2 x 8 Pine, 4 x 1″ Galvanized pipe, 1″ Galvanized pipe flange, 3′ x 7½” – ½plywood, 10 – 3″ flat head screws, hammer, Straight edge and two 3¼ inch nails
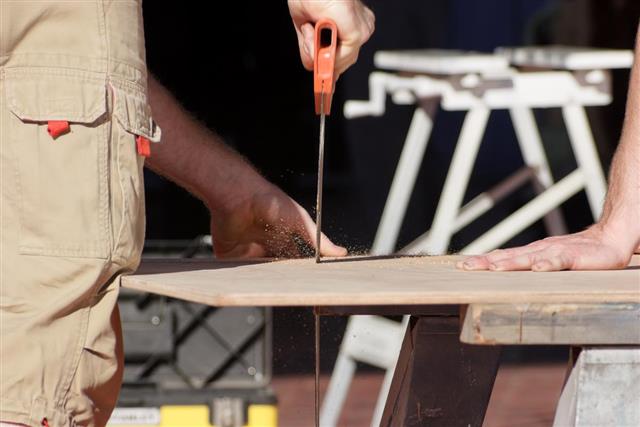
- First use a straight edge, and saw your 6 inch piece of lumber in half. That will give you two 3 centimeter pieces.
- Now taking the 2 pieces, lay the plywood on top of the first and second on top of that.
- Then screw all of them together, and it will be better if they are tacked with nails.
- Using drill bit, drill and swagger holes up and down the length of the 2 x 8 block of wood. Do not get too close to either the bottom, top, or the middle. Have 10 pre-drilled holes for the ten 3 inch x 5/16 flat head screws.
- Now identify the center of the 2 x 8 (3 -3/4 inch) and measuring a 3½ inch from the side of the 2 x 8 make ‘a dot’ or an ‘X’. Next drill straight in with your paddle bit.
- Take your pipe flange, countersunk, and insert it in the hole, indicating drill holes using a pencil. For preventing shiners, drill in a 20 to 30 degree angle away from the hole.
Tap 3/4 inch pipe in the inch hole till it gets to the flange. Then let the pipe wrench be tightened. - Now for operating the lift, insert the lift beneath the engine. Then hold your bike straight with your left hand and leave the kickstand suspended outwards. Pushing your lift handle rearward and downward, check your bike. There! Your bike is ready to get serviced and repaired.
That was how a motorcycle lift can be built at home. I hope I have not confused you with all the measurements and minute details!Have a great time working on your bike!
