Tightening the alternator belt can solve most problems under the hood such as squealing noises when starting the engine or driving the car. To get to know more, read on…
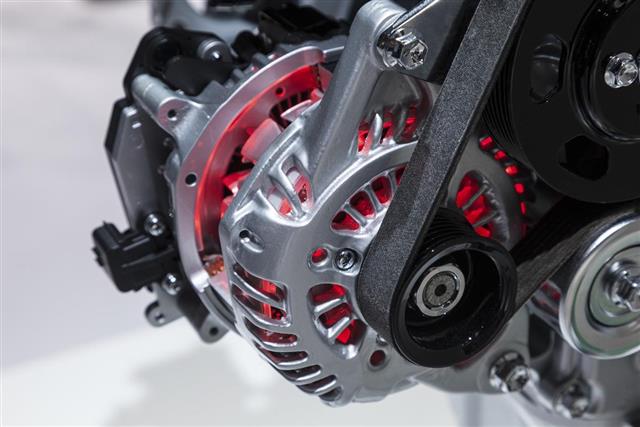
An alternator is an important part in the car engine assembly that does the job of producing electricity to run all electrical components of the vehicle. The generation of electricity is possible mainly because of the working of the alternator belt that runs from the engine crankcase to the alternator. For the alternator to work efficiently, the belt is supposed to be kept in proper condition. A very tight belt would put pressure on and damage the parts in the assembly, whereas a loose belt would not allow the parts to run firmly. If you happen to hear a squealing noise from under the hood, it might be a case of a loose alternator belt, which needs to be tightened.
Tips on Tightening an Alternator Belt
For a DIY task, you will simply require a socket wrench set. Locate the alternator located under the hood and find how the setup is done. You would find a bolt that secures the alternator onto the frame of the assembly. Check, if it is secured enough and does not have slack. Also make a point to check other bolts that hold the alternator in place.
Now you will have to find where the belt tensioner setup is. If it is a slider tensioning system, you will need to loosen the slider bolt using the right type of wrench. The assembly would generally have a tensioner lock nut and a tensioner bolt. Loosen the nut and bolt, after which you will have to set the alternator against the belt. Now you need to tighten the slider bolt and the tensioner lock bolt. You even need to check the tension in the belt while tightening it. Tighten the bolt until there is about 1/2 inch of slack on the belt. This measurement can be done using a small ruler placed above the belt. Another option is to use a drive belt tension gauge to get accurate readings about the play on the belt.
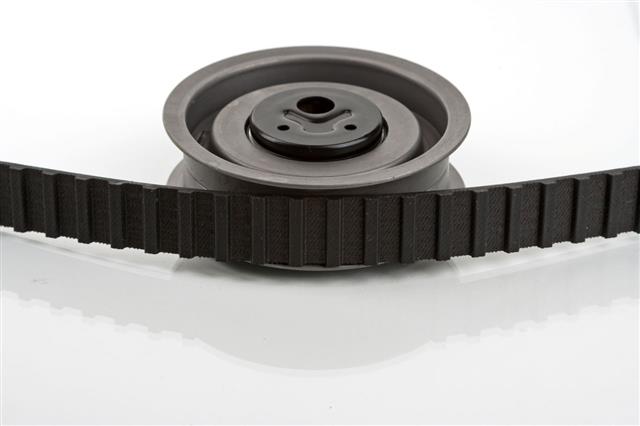
You can spray an aerosol belt dressing product on the belt to contribute to its smooth running. During the measurement of the belt slack, it the belt does not go down ½ inch, you will have to release tension off the tensioner bolt. A tighter belt can even be a result of the belt being smaller than what is required around the alternator. Below is some information about getting a new belt installed.
Replacing Alternator Belt
If even after the tightening, you hear a squeaky noise from the hood, then probably it’s time to replace the belt. You can check for a bad belt by sliding your hand across the belt and checking for cracks and irregularities. As a simple test, check if the belt moves out of place after carrying out the repair by trying to turn the alternator pulley with your hands. If it does, you will have to get it replaced.
Manufacturers recommend the belt to be replaced every 40,000 to 50,000 miles. However, note that you need to get it replaced as soon as you encounter any problems mentioned above. Sometimes, frequent loosening of a belt is also the fault of the tensioner, which is when you need to get the tensioner replaced.
Tightening the belt can lead to a proper grip, thus increasing the alternator’s functioning. If it is a serpentine belt, proper tension will also help other parts to work smoothly. Note that this is just a standard procedure for tightening the alternator belt. The procedure may vary as per car type, so it is necessary to refer to the service manual for exact steps. To prevent any issues at the alternator assembly, it is suggested to get the system checked during routine servicing.

