Some tips on plastic gas tank repair in this article will come in handy for a scratch or a dent that is deep enough to create a hole in the gas tank of your vehicle.
Plastic gas tanks are the most widely used fuel tanks today for a number of vehicles as they are convenient in many ways. The metal gas tanks, even though they last longer than the plastic ones, are at a higher maintenance risk. They are subject to rust, corrosion, leaks, and other breakage problems when they become old. Plastic fuel tanks, on the other hand, are less expensive, light weight, and last longer as they do not suffer from rusting and corrosion problems. They are also easier to assemble in the vehicle and thus, are preferred over metal tanks.
Though plastic fuel tanks have so many plus points over the metal ones, they too can undergo a few holes and cracks as they are made of plastic. Since plastic tanks are less expensive, you do not have to discard them to buy a new one when there is any problem with them; you can repair these yourself as it is an easy job.
Repairing a Plastic Gas Tank
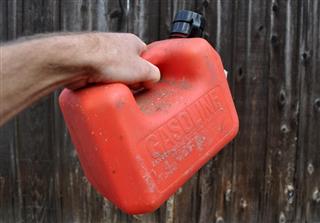
When you have a leaking plastic fuel tank, you cannot avoid it as the vehicle loses a lot of fuel. Because of this, there can either be other problems in the vehicle or it could simply stop working due to lack of gas. You have to fix this problem as soon as possible, and since you have a plastic tank, you will be increasing the chances of a fire hazard as well. Take a look at a few tips for repairing a plastic gas tank in the following paragraphs.
Materials Needed
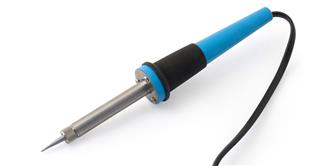
- Hot knife or soldering iron
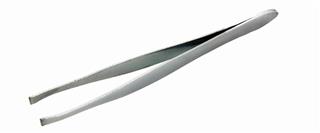
- Tweezers
- Wire cutters
- Plastic pieces
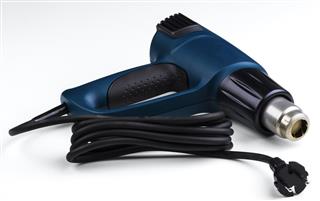
- Spoon Heat gun
Directions
- When you are going to start with the repair, you will need to remove the tank from its place and empty it. There should not be any fuel in it while you are repairing it, as it can be combustible.
- With the help of wire cutters, cut some plastic pieces for the damaged area on the gas tank. Make sure the pieces you cut out are sufficient to mend the damaged area on the tank.
- Then, keep the plastic pieces on a metal surface or the ground in a sequence and use the heat gun to heat them. You will need to heat them till they are transparent and elastic.
- Once you have these pieces that are to be used for replacement, use the heat gun to heat the damaged areas of the tank.
- Very gradually, one piece at a time, heat each defected area and when it is soft enough, stick the loose transparent plastic sheet on it. With the help of tweezers, you can hold the plastic sheet ends and gently stick them on the affected areas of the tank.
- Then, with a hot knife, smoothen the soft plastic and gently run the flat surface of the knife over the surface of the plastic sheet.
- Repeat the same steps for the other damaged areas as well. If you cannot use a knife, a spoon or a spatula will also do, as you only have to spread out the plastic uniformly on the surface of the tank.
These were some really simple steps that you can follow for the tank repair. You can do this in less than an hour, and save money as well effort of purchasing a new fuel tank for a simple crack.
