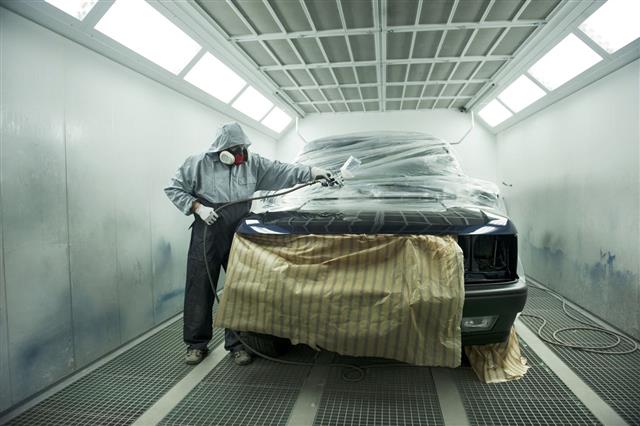
Are you looking to get your old car painted? You could save a whole lot of money by doing the job yourself. It’s not as difficult as you might assume. This article provides a DIY guide with instructions to paint your car matte black. Take a look…
TIP
Though a matte finish looks cool on a car, it takes a lot of effort to maintain. If you wish to use any cleaning product on your car, test it on a hidden area of the vehicle before applying it to all visible areas.
Painting your car all by yourself sounds a bit tricky, but it’s real fun, and most importantly, cheaper than those very expensive auto paint shops. Below explained is one of the cheapest method to paint your car without any professional help or the use of hi-fi tools.
It’s always good to start with an old used car if you’re painting a car for the first time. With patience, neatness, and the right set of skills, you could make your car looking new and beautiful again. Avoid trying this on a not-very-old car or a new car, as you might end up ruining the stock paint. This guide isn’t for a perfect factory-level paint job, so do not expect extremely good results.
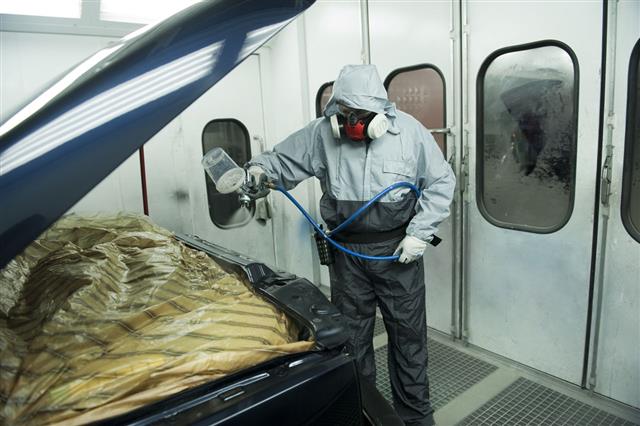
Car painting is not a cakewalk. It needs to be done with utmost caution and with proper safety measures in place. Use a properly ventilated spot to carry out this task. You could also use your backyard for that matter, or any open area. So let’s get going. Take a look at what all you will need, and then we’ll move on to the steps to begin painting your ride.
Things You Will Need to Color Your Car Matte Black
- Sandpaper (120, 600, 1,200, and 1,500 grits)
- Self-etching primer (5 – 8 cans)
- Matte paint (12 – 15 cans)
- Car wash shampoo
- Garden hose
- Masking tape and newspaper
- Water spraying bottle
- Denatured alcohol
- Grease cutting solution
- Safety equipment (latex gloves, respirator, safety glasses)
Estimated Cost: $500 – 600
How to Paint a Car Matte Black

Washing the car

Dry sanding to expose bare metal

Masking the windshield, and the do-not-paint areas

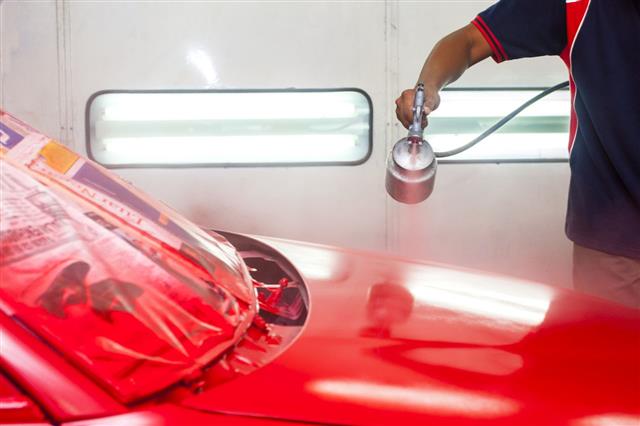
Painting
Step 1
Give your car a proper wash, and allow it to air-dry before beginning the painting process.
Step 2
Once dry, take off all the detachable parts, like the lights, trims, mirrors, etc., trying to minimize the do-not-paint areas.
Step 3
Now, begin dry sanding the surface with the 120-grit sandpaper to scuff up the imperfections and defects of the old paint. Sand to expose the bare metal under the paint.
Step 4
Clean the whole car thoroughly with denatured alcohol to get rid of dirt and oil on the surface.
Step 5
Use the newspaper and masking tape to cover the areas which you don’t want to paint. These areas include the windshield, windows, sunroof (if the car has one), door handles (if not body colored), mirrors, grills, and the like. Use a good quality masking tape to ensure proper sealing. If there are holes in the tape, or if the adhesive of the tape isn’t good enough, there is a possibility that the over-sprayed paint might stain these parts.
Step 6
Prime all surfaces by applying enough paint to fill scratches and pits which you encountered during sanding. Priming should make the surface of the car even and smooth, which is essential for better application of the paint.
Let the primer cure thoroughly. Usually, it would take 2 – 3 hours for the primer to dry, but do check the instructions on the container, as the drying time might vary with different brands. Also, check if multiple coats are required. If yes, then give a second coat when the first one has dried completely.
Step 7
Once the primer is dry, wet-sand the surface with the 600-grit sandpaper. This would smoothen any areas with drips or blots of primer. Even though this is a less coarser sandpaper, do not sand too roughly, or you would expose the metal all over again.
Step 8
Degrease all the surfaces using the solution and clean thoroughly to eliminate any dust or other particles accumulated during priming.
Step 9
Now for the paint. Read the instructions on the paint can properly. An advantage of canned paints is that one wouldn’t require a separate sprayer or thinning of the paint. Always remember to paint in a side-to-side sweeping motion, covering as much area possible. Try to be somewhat perfect with this coat, as this is the final step in the actual painting process.
Step 10
Now that you’ve painted the whole car, give it time to dry. On an average, canned paints should dry within 24 hours (follow the instructions on the can). Let the paint cure thoroughly; avoid driving or exposing the car to dust and dirt during the curing process.
Step 11
After the paint is completely dry, wet-sand it with the 1,200-grit paper until all the surfaces look perfectly smooth and finished. Rinse any residue and let the car dry. Do not buff the paint, as it would ruin the finish.
Step 12
You could give your car a refined look by applying some car wax meant specifically for a matte finish.
Matte Paint Care
After painting your car matte black, it is very important to take care of the finish. Matte colors, unlike gloss or chrome, need a lot of maintenance. Here are some basic tips that will help protect the color of your car.
Dos and Don’ts
- Do not use any product meant for normal paint. Look for matte specific car care products.
- Matte finish looks good because of its less shiny and flat appearance. Do not use polish and rubbing compounds, as you don’t want to end up turning the matte to a gloss finish.
- Do not get your car washed at an automatic washing center, as the brushes and shine enhancement products can permanently damage the matte paint.
- For spot cleaning, use a microfiber cloth and an alcohol-based window cleaner. Wipe the surface with a gradual forward-backward motion, and rinse later to eliminate the remains of the cleaner.
Washing
- Always spray your car with a hose before applying the matte-specific car shampoo.
- Wash the vehicle lightly, working in small sections in a bottom-top direction. Rinse each soapy section before moving to the next. Continue in this manner until the whole car is completely washed. Use a soft microfiber or chamois cloth while washing, and avoid the use of any kind of brushes.
- Post washing, do not allow it to air-dry, as it would lead to the formation of water stains, Instead, use a damp microfiber towel and wipe down the whole car dry.
- Use matte specific paint protection products to retain the paint’s finish longer. A lot of car care brands, like 3M or Swissvax, manufacture such products. Do remember to read the product-use instructions carefully before applying.
If you are really tight on budget, but still wish to make your old car look new, invest some time and paint your car as per these instructions. Don’t forget to leave your feedback in the comments section below. We’d love to hear about your new-look drive.
