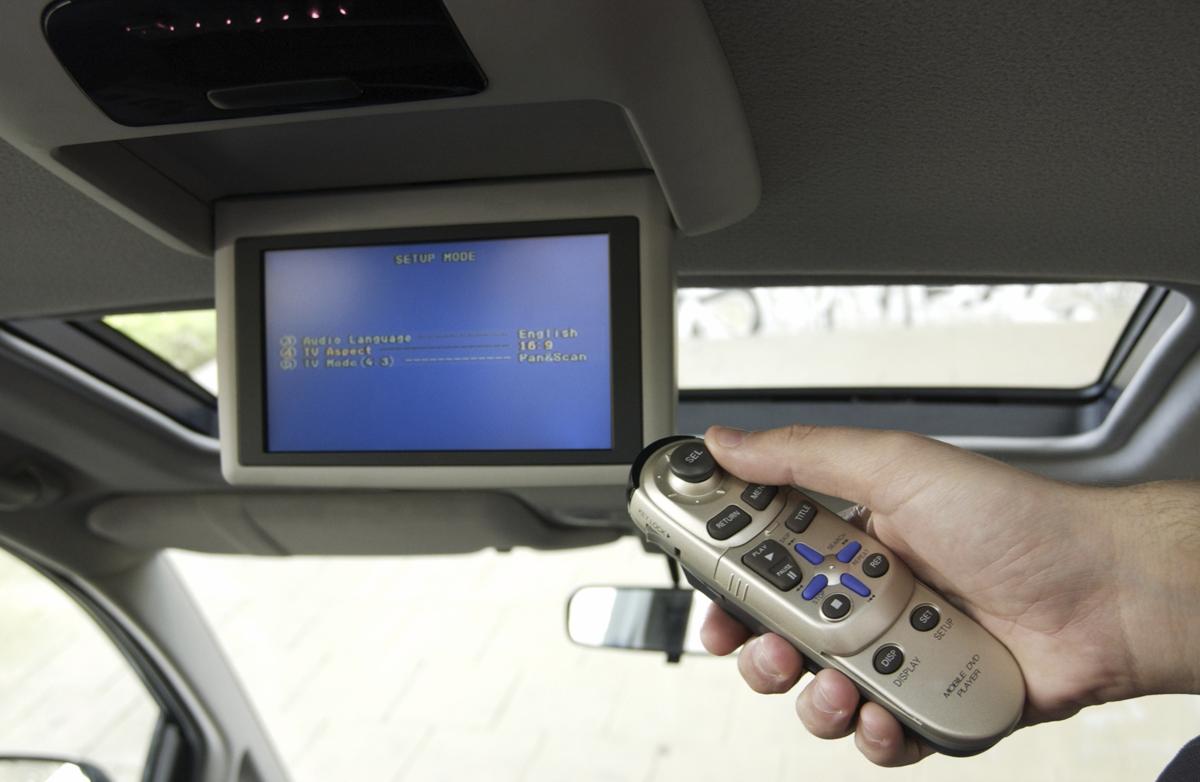
Learn how to install a roof mount car DVD player in your vehicle, and fulfill all your family members specifications regarding ‘entertainment on the move’ whenever they take a ride in your car. A DVD player along with an LCD screen in your car doles out to be the best entertaining piece of device one could expect on the move! So take a look at this article and learn the easy ways to install this device…
Apparently the idea of setting up a DVD player along with a roof mounted screen in your car is the simplest and perhaps the most affordable style to transform all your long drives into full-fledged entertainment trips. Having a DVD player and a screen in your car that would play movies, music videos and other entertainment files, sounds so exciting, doesn’t it? If you belong to a family who loves to travel by road to different places every summer, it’s best to have an entertainment system in your car so that the journey doesn’t become dull and boring. Now if you know the road journey is going to be far and long, have you thought of alternative methods to not get bored during the drive?! If you have kids traveling with you, most of them certainly do not console to the thought of sitting quietly on their seats. So without spoiling anyone’s mood and making the whole trip feel uninteresting and boring, what you can do is buy a DVD player (either portable or a permanent fit) for your car and install it with some simple instructions discussed in this article.
Just a Quickie: When you plan to purchase these entertainment systems, you can either buy an ordinary DVD player and sync it with the existing LCD screen in your car or you can buy an all-in-one DVD player and a separate LCD screen with it.
Installing a Roof Mount DVD Player
Since you have decided to go for the overhead DVD player installation process in your car and make your trip enjoyable for your family as well as your kids, honestly, at first, the procedure will seem to be a bit complex. But if you hold a little background regarding electrical wiring and connection methods, the process will look simple. Plus you will save a lot on the installation cost as well.
Required Tools
- Philips and Flathead screwdrivers
- Electrical drill
- Electrical tape
- Utility knife
- Wire crimper
- Epoxy
- FM modulator
- Torx driver
- Volt ohm meter
Procedure
Positioning
Deciding the place of installation in your car is important. The position of the player should be in such a way that it’s comfortable for everyone to watch without any hassles.
Place the Bracket
Usually there comes a bracket as an accessory with the player. To the headliner of your vehicle where you wish to place the overhead player, outline the bracket making sure both the sides are equally distanced.
Wiring the DVD Player
If you plan to set up the player in front of the driver’s seat, you need to drop one side of the headliner so that all the wires are exposed for the further connection. In this process you will need to locate the fuse box and also diffuse the vanity light so that they do not pose as a hindrance while you work.
Unscrew the Misc Accessories
Besides unscrewing the above accessories, you will need to remove the lower and upper trim panel along the line of the sun visor by using a flat-head screwdriver. Also with the help of a torx driver unscrew the seat belt attached to the upper pillar. Lastly, unscrew all the remaining retaining clips, screws and the kick panel situated over the fuse box in the front part of your vehicle.
Drill the Holes
After you have loosened all the fasteners in the above step, cut out the draft of the headliner and also make sure there are beams to support the DVD player. Make use of the bracket to pit four drill holes on the supporting beams. The holes must be at the center of the beam.
Make the Connections
Grab hold of your DVD player and join the wires through the headliner. Refer to a manual guide to not complicate the process. Once you finish wiring the unit, conceal the wires behind the panels that you had removed earlier.
Mount the Bracket
Utilize the screws and supplementary accessories that came along with your DVD player and carefully mount the bracket expending all the accessories. Ensure your dome light wires are properly connected to the wires of the DVD player and so on.
Excluding the black wire which will be grounded, you have to connect the remaining audio and power wires as well. All these wires must be joined to a 12-volt source. Once you have connected all the wires, use a wire crimper to cut the ends of the wires and secure it with electrical tape.
Lay the FM Modulator
The FM modulator device must be placed nearest to the DVD unit, perhaps under the seat or any other place that you know suits it best. This is the last step in the procedure of installing a roof mount car DVD player, wherein you will have to connect an audio cable to the FM modulator and set the device at a given radio frequency. Once you complete this final procedure it’s time to set things back in its original place. Replace all the panels, the headliner and also the seat belt back and end the procedure for the same.
If you have never undertaken a job like this before, it will take a while to familiarize yourself to pick up the tools and go around setting up things in your vehicle. So have lots of patience while performing this task, and then get ready to enjoy quality time with your family on those long drives!

