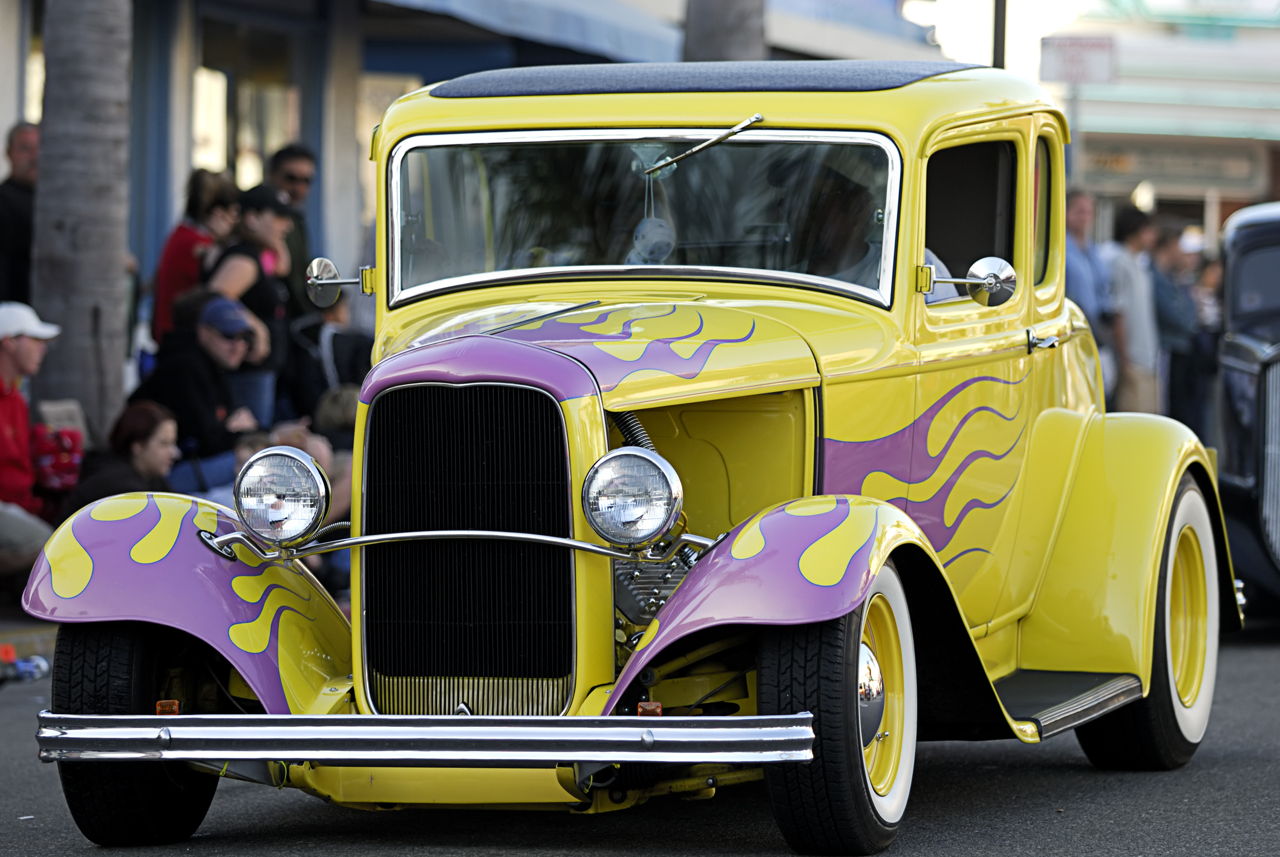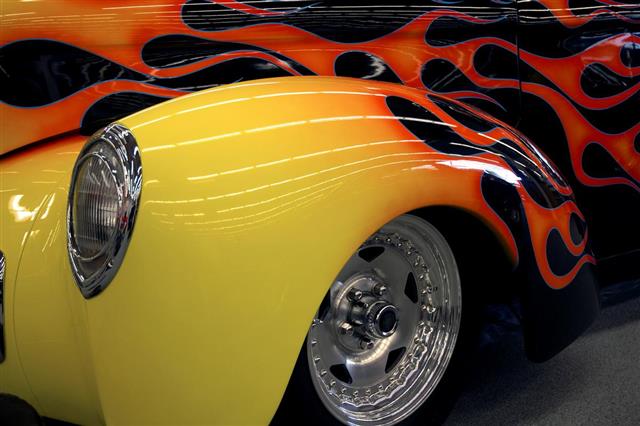
Flames are the classic way to give your automobile the ultimate look. Here’s how to paint flames on your car or bike. Try it out and drive your vehicle in style!
While there are a lot of designs that you might find while trying to glamorize your vehicle, one of the best option is flames. These instantly convert a simple looking vehicle into a hot piece to drive.
You can get the flames painted from a professional. But believe me, you can do this job on your own as well. All you need to do is collect the material required and start the job. You can follow the same procedure for any vehicle, guitar, or anything else. The type of colors will vary depending on the surface over which you want to paint the flames.
Things You’ll Need
- Flame template or Poster board to make a template
- Spray gun
- Airbrush
- Car paint (Red, yellow, orange)
- Masking tape
- Masking Film
- Adhesive tape
- Cotton rags
- Scouring pad
Procedure
Step 1: You can get a ready-made template of fire flames from a craft store. Else, you can draw a freehand sketch of the flames too. Decide the area on your car where you need the flames. Consider this area while you make a template. You can also do this to scale; using a graph paper is a great idea. It will help you know where exactly the curves and lines of the flames will fall on your car.
Step 2: Expand the graph on a full-size poster board and create a bigger template of the flames. Cut out the template. You can have many such to be placed side-by-side.
Step 3: Take these templates and tape them over the car surface. The best places to have flames is from the bottom, flames rising upwards towards the windows. Tribal flames are commonly placed horizontal, from the front doors going in the rear direction. Some love to have them on the bonnet as well. Tape the templates accordingly onto your car body.
Step 4: Once you have finished masking the flame templates, using a masking tape, mask off the area around the templates thoroughly. A good quality masking tape will ensure easy removal. Make sure you cover the car panels with a masking film.
Do not stick the masking film directly, as it might leave a tape line when removed. First stick a masking tape as a border and stick masking film over it. This will ensure that the paint doesn’t get sprayed over the rest of the car surface and car parts, like the wind shields, chrome, mirrors, and tires.
Step 5: Remove the flame templates. You can touch up the masked-off areas with more masking tape carefully, maintaining the flame border lines and curves.
Step 6: Take a small scouring pad and rub out the area to be painted. Now, clean the entire area using rags. Apply a primer over the area to be painted. Let it dry before you start painting the flames.
Step 7: Take the yellow paint in your spray gun. Apply a few thin layers to cover up the area. The base is formed, let it dry. Now, you have to do some detailing. Add orange paint in the airbrush. From a little distance from the base of the flames, start spraying orange paint, only in the center.
Maintain the curves while spraying. Load red paint in the airbrush and spray it to have perfect highlights. Use red for the upper border and flame tips. You can use colors according to your own ideas as well.
The hot flames are right there, on your car!
