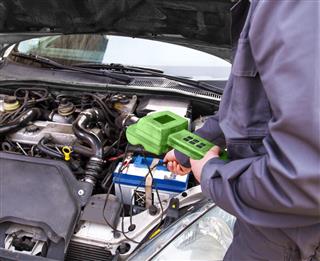
Parasitic battery drain is a common problem in all computer-equipped devices. Scroll down to learn how to test the battery for parasitic drain.
The engine of your car may not work, if the discharge of the battery in your car happens at a faster rate. The discharge or draining of the battery into other electrical systems is highly disadvantageous and it is important to locate the cause of the drain. Electrical drain is common in parasitic batteries but you should know whether the electrical drain is excessive. Parasitic drain can result in various drive ability problems causing the computer to set into false trouble codes. The speed of the engine may rise, in order to compensate for the low-voltage in the battery. So, it is important to do the parasitic battery drain test, to check the condition of the battery.
Testing the Battery for Parasitic Drain
Your battery might be in a good condition, but there could be some problem in the circuit design which causes drain or parasitic load. Electrical and electronic components always draw some amount of current at all times. The rate of electrical drain will be more for a shorter time, after the ignition switch is turned off and later it would be reduced gradually. If your vehicle has computer-controlled air suspension systems, disconnect the module, before you start the test.
Using Ammeter
The most correct method of measuring the parasitic drain is by using ammeter, which is a current measuring device, that measures the current flow in units called amperes. Use an ammeter that can measure current in tenths of amps. To do this:
- Switch off all the electrical devices and make sure that the ignition switch is turned off.
- Keep the doors closed and switch off the glove compartment and the truck lights.
- Disconnect the negative battery cable and make a connection between the negative terminal of the battery and the end of this cable using a 12-gage jumper wire.
- Connect an ammeter between the cable and the negative terminal in a series connection.
- Turn on the ignition switch and then turn on other computer-controlled accessories such as stereo/radio and air conditioners.
- Switch off all the electrical accessories and the ignition switch.
- Disconnect the 12-gage jumper wire.
- Depending on the ammeter reading, switch the ammeter scale, and note the reading in the ammeter.
- Compare the reading with the necessary specifications provided by your vehicle’s manufacturer.
- If you find that the drain is excessive, then disconnect the fuses or circuit breakers in the circuits and locate the source of the drain.
- Disconnect the ammeter and tighten the negative battery cable.
- Multimeters can also be used to measure current in this drain test.
Less than 50 microamperes is an acceptable measure. New vehicles may require up to 100 microamperes.
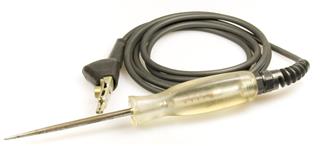
Using Test Light
Before you start the testing work, turn off the courtesy lights and make sure that the lights in the brake switch, trunk, glove box, engine compartment, ashtray, etc., are turned off. Now, start the testing.
- Disconnect the battery ground cable and connect the test light device between the battery cable end and battery post.
- If the test light doesn’t glow, the drain can be neglected. But if the test glows, there is significant drain.
- If the test light glows and you are not able to spot the cause, remove all the fuses one by one, until the test light goes off.
- Trace the faulty circuit and repair it.
Voltmeter can also be employed to test the drain. In this case, the voltage across the parasitic load, will determine the drain. Amperage multiplier can also be used to measure the current with high precision. Take proper care of your battery and replace it at proper intervals to prevent this problem.

