The actual tedious part of removing car roof racks is easier than you think. Learn how to remove roof racks from the following article and get the job done in half the time…
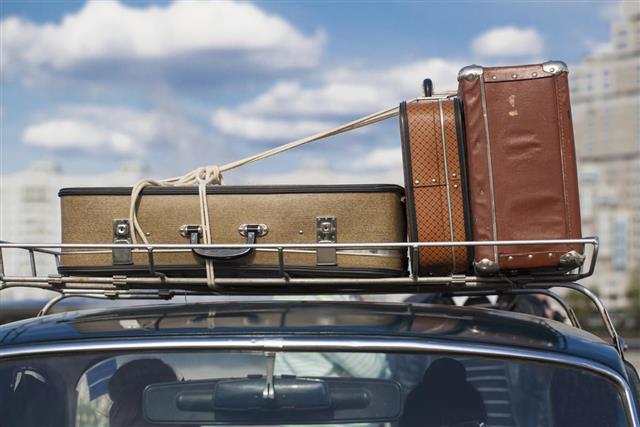
Whenever there’s a road trip involved, many of us tend to over pack and brings things that may or may not be useful. We figure, since we’re taking the car, might as well pack a few extra things because you never know when we’ll need them, right? Well, here’s where the trouble arises. Car roof racks are quite practical and are used frequently by many. However, if you’re just keep it on your car without it having any use, you’re inviting aerodynamic problem on your hands. Imagine this… you’re on your bicycle, traveling uphill, and the wind is hitting you head on. Doesn’t that increase your resistance because you’re fighting against the wind, using more energy to push yourself forward?
Same goes for the car with a roof rack. In order to travel a particular distance, you end up using more gas and increase your expenses. Keeping this ideology in mind, many car companies are coming up with car designs that are aerodynamic which can help cut costs wherever possible. As for making changes closer to home, a simple task of removing roof racks can be achieved in a short time. Below, you will find the step by step method. Take a look.
Remove Roof Rack from a Car
To remove the roof rack from your car, you’ll require a flat-head screwdriver, a wrench, and a sturdy ladder. Majority of car roofs (despite the model and make) can be removed with the steps which are mentioned below. If for any reason, your car roof rack isn’t removed easily, don’t hesitate to take the car into the company’s service department.
- On the driver’s side, keep the ladder for easy access to the roof rack. Climb the ladder to see if it is high enough for you to reach the roof rack.
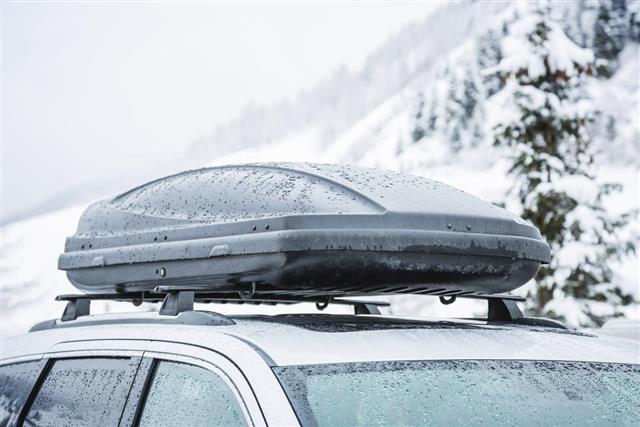
- There are different types of roof racks available that can be mounted but the 2 main parts present are front cross bar and rear cross bar.
- These 2 bars are slightly higher than the roof of your car, running across it so that you can secure items on them.
- Apart from the 2 cross bars, there are 2 more pieces that hold these cross bars in place. They are on either sides of the car roof and run parallel to one another.
- First we need to loosen and remove the front cross bar’s bolt. Depending on the size of this bolt (various models have unique bolts), remove the bolt accordingly.
- Once the front cross bar bolt is removed, remove the rear cross bar bolt as well. Since you are standing on the driver’s side, you will remove the left side’s bolts first.
- Slowly climb down the ladder and move it to the passenger’s side. Go up the ladder and remove the other 2 bolts as well.
- When all 4 bolts are removed, you can lift the cross bars off the roof of the car. Ask someone to help you take them down and keep on the side.
- Now we will move on to the 2 parallel bars the cross bars were secured on. Remove 4 bolts from driver’s and passenger’s side.
- Use the flat-head screwdriver and move the parallel bars off the roof of the car. They should come off easily.
And that’s it; the roof rack is off your car. Keep the bars in a place where you won’t lose the bolts or any other parts so you can install the roof rack whenever you need it. Isn’t removing the roof rack off your car simple? Once the roof rack is out, wash the area to remove any dust or debris. And now… you’re good to go!

